Keeping our home walls well-maintained and pristine is a matter of pride and care. But let’s not forget that even the most perfect home can fall prey to the wear and tear of time. At the same time, we all can relate and unite over one common issue every homeowner experiences: drywall patches.
Factors to Consider While Repairing Drywall Patches
Learning the art of drywall repair is a vital skill that may save people money and preserve the beauty of their living space, whether it’s due to unintentional bumps, water leaks, or sagging foundations.
Evaluate the Damage
Before starting to use the tools and taking steps forward, it’s better to assess the patch. See if it’s a small or large hole or water damage. Doing so will help us analyze the severity of the damage and what needs to be done next.
Use the Right Tools
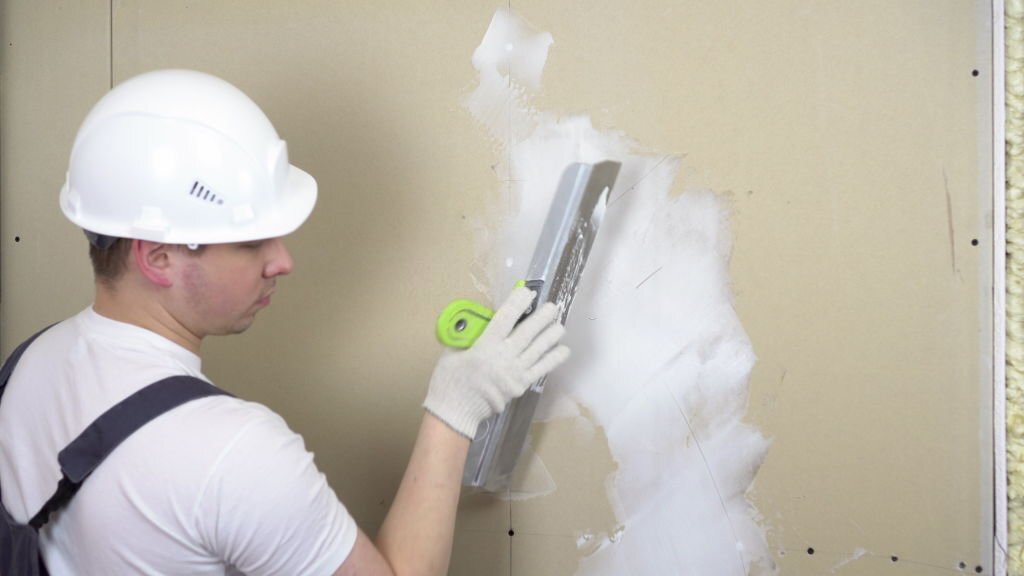
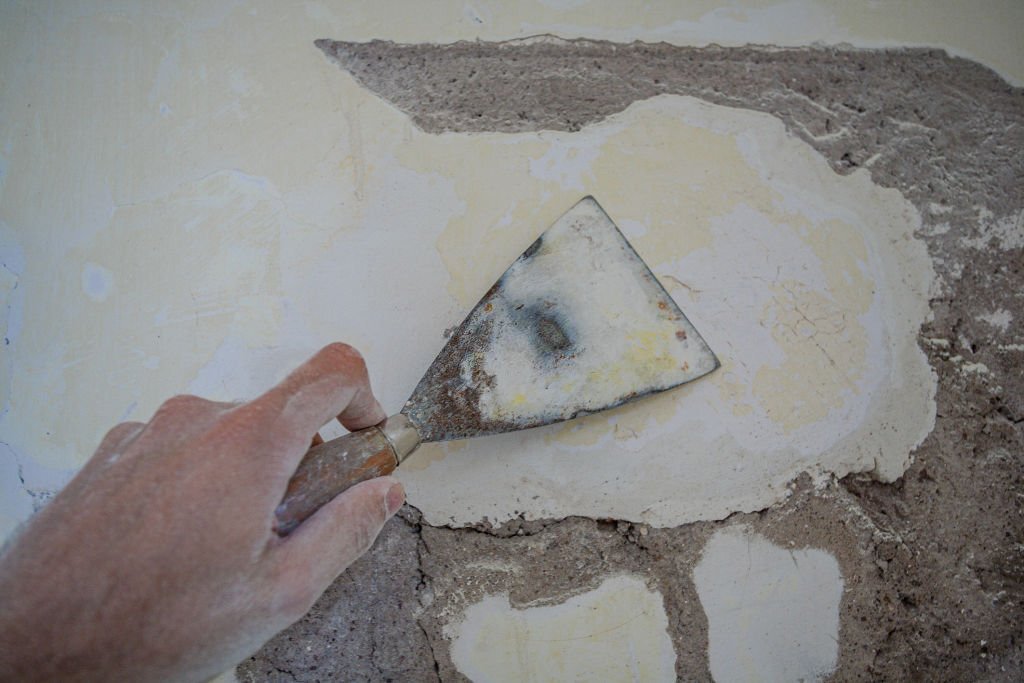
- If the hole is small, it can be covered with a thin layer of joint compound, also called drywall mud, using a putty knife and fine-grade sandpaper.
- Large cracks can often happen due to unforeseen accidents around the house and require more supplies to repair. Gather the piece of drywall, saw, knife, screws, furring strips, and joint compound.
Now you have the complete shopping list for tools needed to repair the drywall patches.
Ensure Safety
Once you’ve gathered the right supplies and begun to work, ensure you’re not directly in contact with electrical wire and plumbing. Beginners should avoid getting into it as they can worsen the hole using the wrong technique and supplies.
It’s better to leave this to the pros so you don’t end up injuring yourself. You should also wear a dust mask, protective goggles, and gloves.
The Entire Process of Repairing the Drywall Patches
- If the patch or crack is small like a screw hole, it can be covered with the first coat of drywall mud. Applying a second coat will cover the tracks if the first coat shrinks or falls off. A thin layer of joint compound is the most effective substance for repairing drywall seams and corner beads.
- If a patch is more significant than 4 inches, it would need a repair kit including a new piece of drywall.
- Draw a shape around the area using a pencil or pen.
- Cut the edges using a drywall saw.
- Mark vertical frames with a stud finder, then utilize these studs to install your new piece of drywall.
- Cut a new piece of drywall and place it on the wall.
- The last step is to apply a final coat of joint compound to blend the repaired patch.
Make Your Living Space Flawless
When we talk about mastering the art of repairing drywall patches, we don’t mean just fixing the flaws but also restoring the beauty of its appearance. It should appear as if nothing ever happened. That’s perfection, which can only be achieved if you work with professionals. Your Quality Painters is a leading name in construction and repairers that you can trust with your drywall repair.


